

Easy Ways to Convert JPG to PES Format for Beginners
So, you've found yourself staring at a beautiful JPG image and dreaming of stitching it onto a hat, a blanket, or your favorite denim jacket. Welcome to the wonderful world of machine embroidery. But here's the catch: your embroidery machine doesn't speak JPG. It speaks a language called PES, which is a specific file type used by many Brother and Babylock machines. The process of getting from that picture on your screen to a threaded design might seem technical, but I promise it’s more accessible than you think. Today, we’re breaking down the straightforward paths to convert JPG to PES format.
Let's start with what these files actually are. A JPG is a standard image file, great for photos and digital art, made of pixels. A PES file, on the other hand, is an embroidery design file. It doesn't contain pixels; it contains instructions for your embroidery machine—data on stitch types, colors, needle paths, and sequence. You can't simply rename a JPG file to .PES and expect magic. The conversion process involves digitizing, which is the art of translating a visual image into a stitch language. While professional digitizing is a deep skill, beginners have several user-friendly tools to get started.
Understanding Your Conversion Journey
Before you jump in, it’s crucial to manage expectations. Converting an image to an embroidery file is not like converting a Word document to a PDF. A complex, multi-colored photograph will rarely translate well directly into stitches. For your first attempts, choose simple images with clear lines, high contrast, and minimal detail. Think logos, silhouettes, simple line art, or bold text. This will make the conversion process smoother and your final stitched result more satisfying.
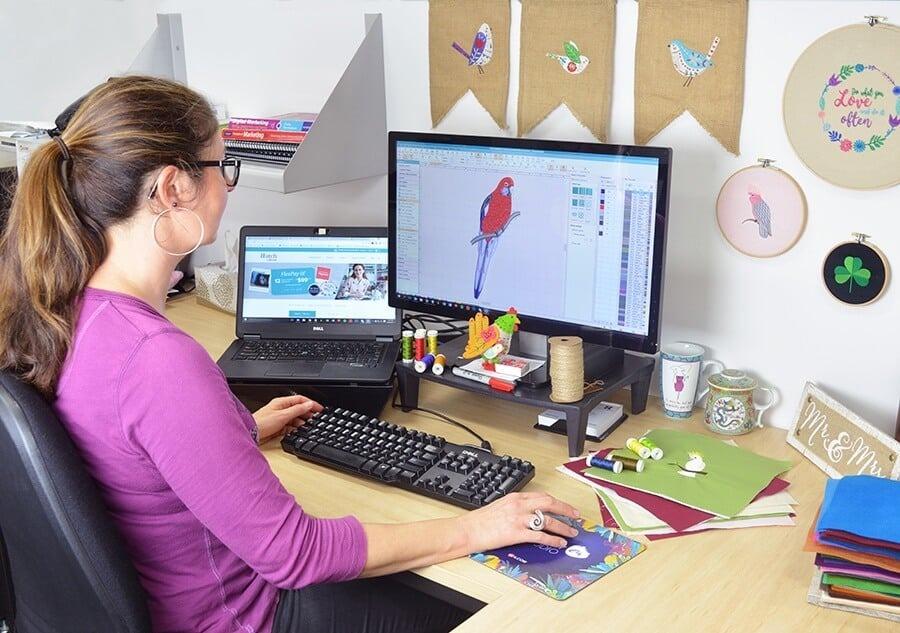
Method 1: Using Dedicated Embroidery Software
This is the most powerful and recommended method for those who plan to do this regularly. While professional-grade software like Wilcom or Hatch can be an investment, they often offer free trials, which are perfect for dipping your toes in.
Here’s a simplified workflow you’d typically follow:
- Import Your JPG: Open your chosen software and look for the "Import" or "Open" function to bring in your JPG image.
- Auto-Digitize (Your New Best Friend): Look for a button labeled "Auto-Digitize," "Auto Punch," or something similar. This feature analyzes your image and automatically creates a basic stitch path. It’s not flawless, but for simple designs, it’s a fantastic starting point.
- Clean Up and Edit: The auto-generated design will likely need tweaking. You can adjust stitch types (satin vs. fill), clean up jagged lines, set a stitch sequence, and assign colors. This step is where you learn the most.
- Save or Export as PES: Once you’re happy, you use the "Save As" or "Export" function and select .PES as your file format. Save it to a USB drive, and you're ready to stitch.
Method 2: Exploring Online Conversion Tools
If you're not ready to install software, online converters are a quick and often free alternative. You simply upload your JPG, the website processes it, and provides a PES file for download. A quick web search will reveal several options.
A word of caution with online tools: always check the website's reputation. Be wary of sites that ask for excessive personal information or seem shady. The quality of the auto-digitizing can vary widely, and you have little to no control over the final stitch settings. They are excellent for one-off, simple conversions but may frustrate you with more complex images. Think of them as a fast-food option—good for a quick fix, but not for a gourmet meal.
Method 3: Leveraging Mobile Apps
Yes, there are apps for that. Search your device's app store for "embroidery digitizing" or "JPG to PES." These apps bring the conversion process to your phone or tablet. The interface is usually very streamlined, allowing you to take a photo or choose an image from your gallery, apply some basic filters for cleanup, and generate a file. The output is generally basic, but for creating simple monogram or label designs on the go, they can be surprisingly handy. This method is perhaps the most casual and beginner-friendly of them all.
Method 4: Outsourcing the Task
Sometimes, the easiest way is to let a professional handle it. If you have a cherished, detailed image that you absolutely must embroider perfectly, consider paying a digitizing service. Websites like Etsy or dedicated digitizing platforms have experts who can turn your JPG into a flawless, production-ready PES file for a small fee. You send them the JPG, specify any preferences (size, colors, etc.), and they send back the PES. This guarantees a high-quality result and lets you skip the learning curve entirely.
Your First Conversion Checklist
No matter which method you choose, keep this beginner's checklist in mind:
- Start Simple: A bold, single-color design is your best first project.
- Check Size and Dimensions: Embroidery files have physical dimensions. Ensure your design will fit your hoop.
- Mind the Stitch Count: More complex designs mean more stitches, which means longer machine run times and more thread. A simple 2,000-stitch design is a better start than a 20,000-stitch one.
- Test on Fabric First: Before stitching on your final project, always run a test on a scrap piece of the same fabric. This lets you check tension, see the true colors, and spot any design flaws.
The journey from a digital image to a physical, stitched creation is incredibly rewarding. It blends creativity with a touch of technical skill. While the term "digitizing" might sound intimidating, the tools available today have made the initial steps more approachable than ever. The key is to start with low expectations, embrace the learning process, and celebrate that first successful stitch-out.
Remember, every expert was once a beginner who decided to give it a try. Your path to creating custom embroidered goods is just a few clicks away. Find the method that feels most comfortable, grab a simple image, and take that first step in learning to convert JPG to PES format. The hum of your embroidery machine bringing your personal design to life will be all the reward you need.